How To Dye Leather
Find out the steps you need to follow to get a uniform coating with great color consistency and maintain the original softness of the leather.

A Step-by-Step Guide for Leather Dyeing on Natural Leather
The process for leather dyeing is almost a standard process, anyway it can change in some steps depending on the type of leather dye you're going to use. To get a quality high-end finish on your natural leather, there are different approaches, especially between water-based leather dyes and alcohol-based leather dyes.
This step-by-step guide will reveal you some tips that will help you get a high-end finish with good color consistency, uniform coating and a smooth surface.
Download the Step-by-Step Guide and get FREE extra-content video
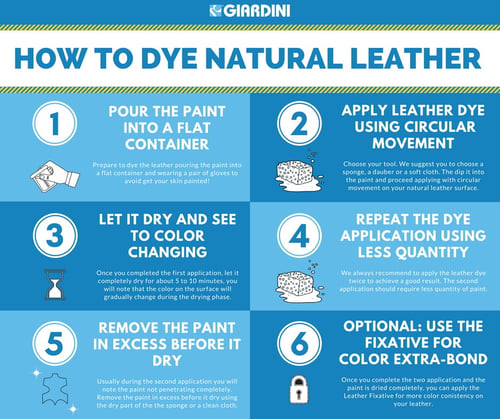
STEP 1:
Pour the paint into a flat container
Water-based leather dye is a liquid with high viscosity, so for a more comfortable use of the paint, we suggest to drop it into a flat container such as a plastic dish or the lid of a bucket. Drop the leather dye into the container and wear gloves before you start the leather dyeing process.

STEP 2:
Apply leather dye with a circular movement
To proceed with the leather dye hand application you can use a sponge, a dauber or a soft cloth. Dip your tool into the paint and start applying it on the natural leather surface with circular movements. During the first application you'll immediately notice that the paint is quickly absorbed by the leather. You should continue to apply it on the whole leather surface until it will appear completely colored with a uniform coating.

STEP 3:
Let it dry and see the color changing
As you're using a water-based product the drying phase will be slower that alcohol or solvent-based paint. It should take around 5 to 10 minutes and during this phase you'll see the color on your leather surface changing and becoming more clear and more bright.

STEP 4:
Repeat the dyeing application by using less quantity
Once the first coat is completely dried you can proceed with the second application. This phase is not strictly necessary but is strongly recommended to give your color more consistency and to have a uniform coating on your leather surface. During the second application you may notice that the paint has more difficulty to penetrate the leather, because a good part is already full of paint.

STEP 5:
Remove the paint in excess before it dries
The paint that is not immediately absorbed by the leather could remain on the leather surface as liquid stripes. It's very important to remove it before it dries otherwise your leather will not have a uniform aspect. To remove the paint in excess you can easily use the dry part of your sponge or a clean cloth.

STEP 6 (optional):
Use the fixative for extra-bond color
Depending on the type of natural leather you're using, color may have different bonding. That's why if you need the color to be well bonded to the leather surface, you can use the leather fixative as final coat.
Do you need more information on leather dye?